

Professional Ceiling Fan Installation
You might be thinking, “I could never do that!” but you would be surprised at how easy it is to install a ceiling fan. Ceiling fans are great for making your home more comfortable and save on energy bills by cooling the house down in the summer and heating it up in the winter.
The first thing you’ll need to do is find out what kind of wiring system you have (there are three kinds-most homes will have either two or three-wire) so that you can purchase an appropriate ceiling fan. If there’s any chance your existing wiring doesn’t support a new fixture, hire an electrician first!
You’ve been looking for a company to service your home and business needs. C&J Appliance Installation is here! We provide quality electrical work at competitive prices, with expert knowledge of all the services that we offer including ceiling fans installation or replacement in the Fort Worth Texas area homes/businesses operators near you can depend on when it comes time to install those new systems today.
C&J Appliance Installation offers top-of-the-line ceiling fan installation services at affordable prices. We also offer full-service electrical work for any problems you may have with your current system along with new installations, repairs, or replacements of all makes and models.
We dedicated ourselves to great customer service, professionalism, being punctual and efficient.
Here are 10 steps when installing a ceiling fan:
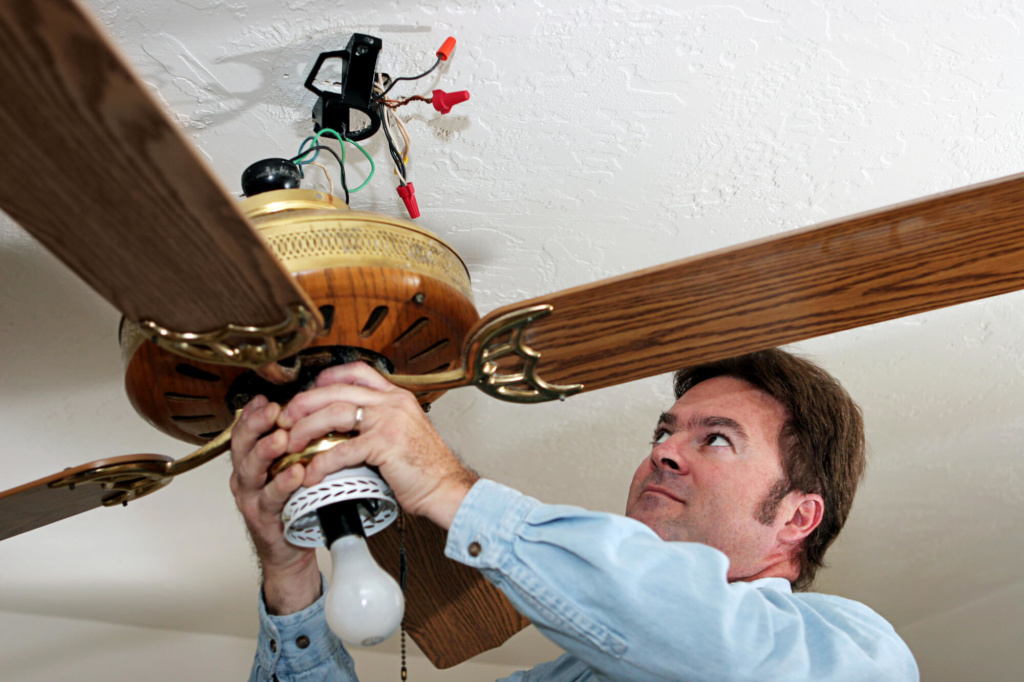
1) When uninstalling a light fixture or ceiling fan that you are replacing, turn off the electricity. (either at the switch or breaker box)
2) Remove old fixture or ceiling fan by loosening the cover plate at the ceiling and unwiring.
3 )Place all pieces of your new fan on a table.
4) Take the brace kit and install it in the box in the ceiling.
5) Install the download (if not a flush mount) to the fan motor along with the cover plate.
6) Now install the fan motor to the brace kit and wire the fan to your electricity in the ceiling and put the cover plate in place.
7) Put your fan blades together and install them on the bottom of the fan motor.
8) If you have a light kit that goes with your fan put it together, then install it to the bottom of your fan motor.
9) Install the pull chains. (one for light fixture and the other for the fan)
10) Turn the electricity on at the switch located on the wall near the entrance to the room.
We are pleased to offer our professional services to all of these surrounding cities:
Benbrook, Granbury, Burleson, Crowley, Fort Worth, Aledo, Weatherford, Willow Park, Azle, Lake Worth, White Settlement, Saginaw, Haslet, Arlington, Keller, Watauga, Haltom City, Cresson, Grand Prairie, South Lake, Grapevine, Euless, Bedford, Hurst, Colleyville, Mansfield, Joshua, Cleburne, Midlothian
It is not easy to find the right ceiling fan installation company. That’s why we’re here – to help you save time and money when it comes to selecting a professional for your home or business. C&J Appliance Installations can handle any job, no matter how big or small!